To utilize the Surf Map, you must have at least 1 surf session logged.
Navigate to the Surf Map section.
The map will automatically zoom to your current location. Zoom out to see a wider area and your logged sessions will appear. Zoom in to see more detail.
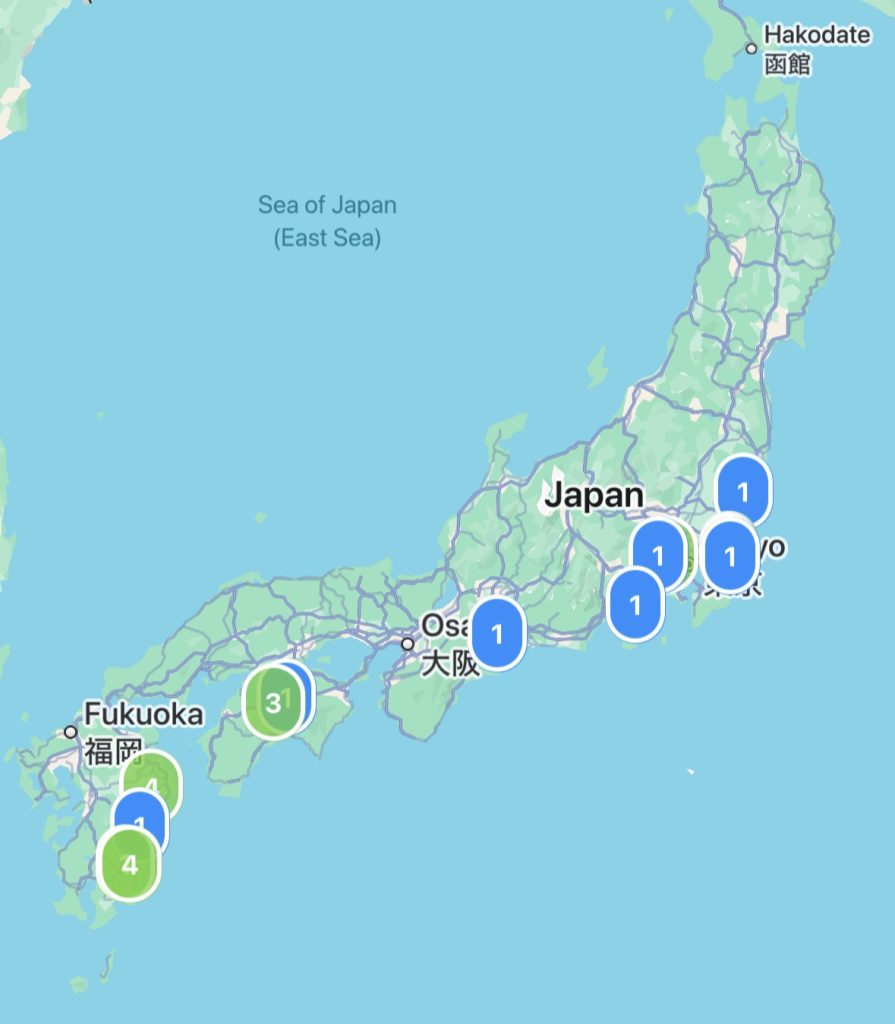
How Logged Sessions Are Displayed
Each surf break you have logged one or more sessions for will be shown on the map. At each surf break you will see the count of sessions you have logged at that break and is colored based on the highest rating recorded there.
Example of a successful surf trip to Japan, with sessions recorded along the way.
Add a surfboard and surf break – Upon creating your account you will be asked to add your first surfboard and surf break.
Log A Session
To initiate a new session you have two options:
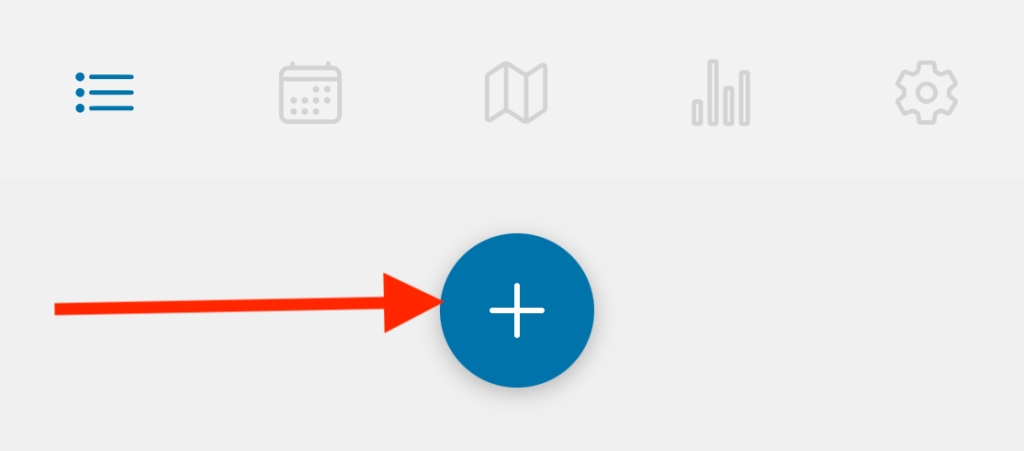
Option 1: From the Sessions Screen (Fastest)
Press the “+” button from the home screen (Sessions) to record a new surf session.
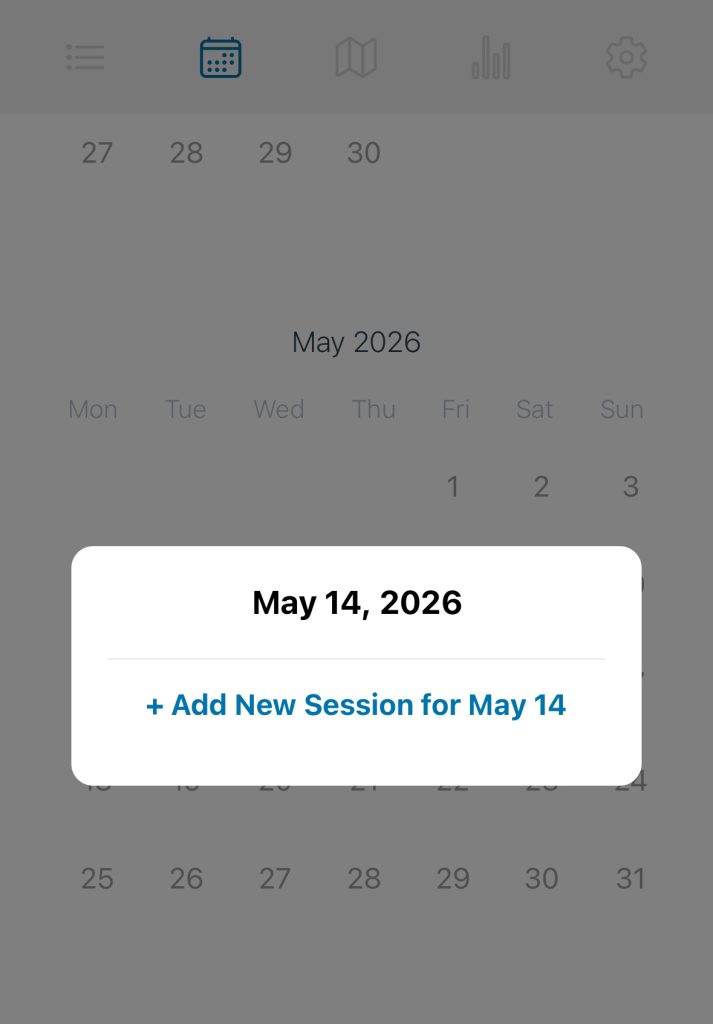
Option 2: From The Calendar (Best for Adding Past Sessions)
Step 1: Navigate to the calendar screen.
Step 2: Select the date for which you’d like to add a session.
Step 3: Click ‘Add New Session’
Enter Session Details
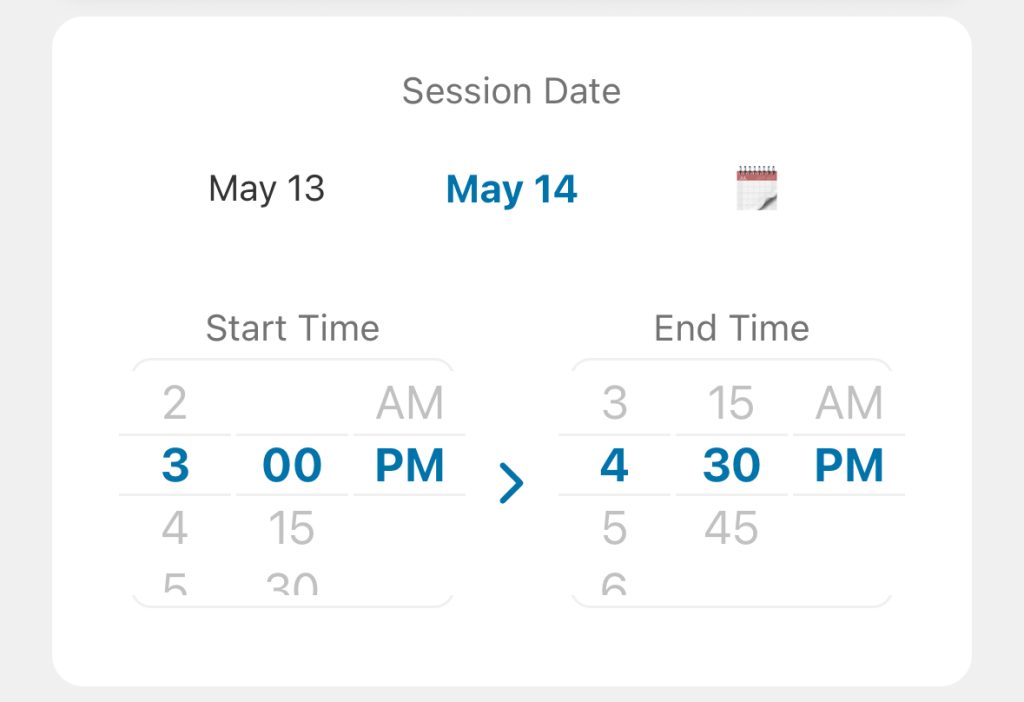
Step 1: Session Date & Time
Select the date of your session. If the date isn’t displayed in the quick-pick section, click the calendar to find the date of your session.
Start Time – Approximate time you started your session.
End Time – Approximate time you finished your session.
Note: Times are only available in increments of 15 minutes.
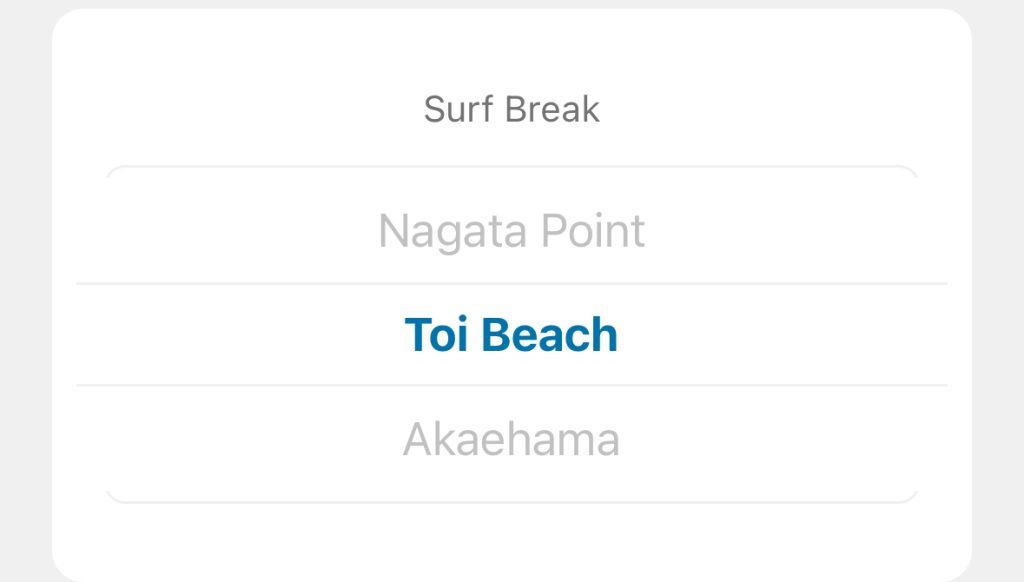
Step 2: Select Surf Break
Your surf breaks will be listed in order of proximity to your current location. You can add a new break by scrolling to the ‘Add A Break’ option at the top of the list.
Tip: You can manage your breaks from the Settings screen.
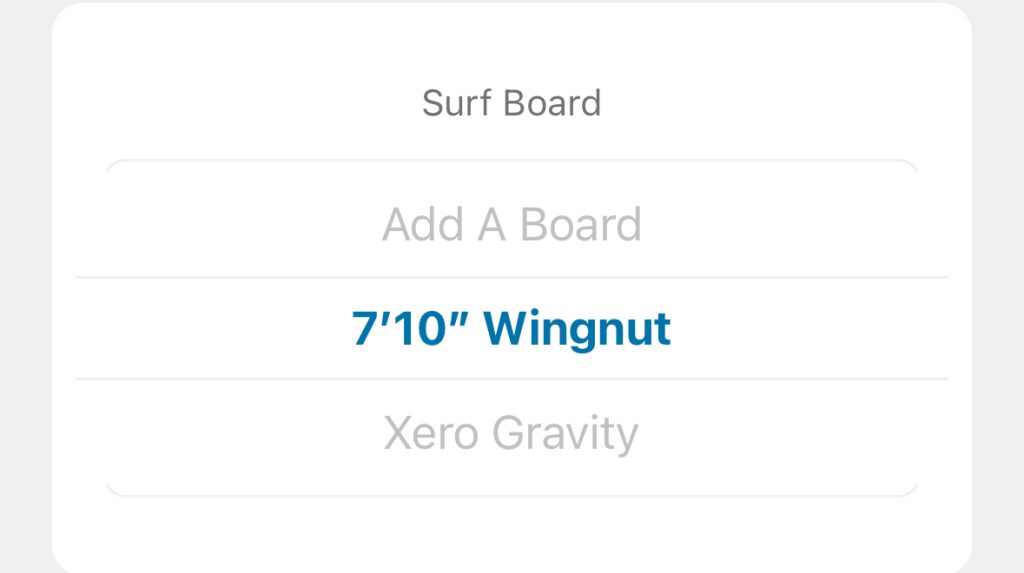
Step 3: Select Surf Board
Choose a board from your list of boards. Select ‘Add A Board’ if you need to add another board.
Tip: You can manage your boards from the Settings screen.
Step 4: Rate Your Session
Use the slider bar to add your rating for the surf session.
Options range:
Terrible
Not Great
Fun
Super Fun
Epic
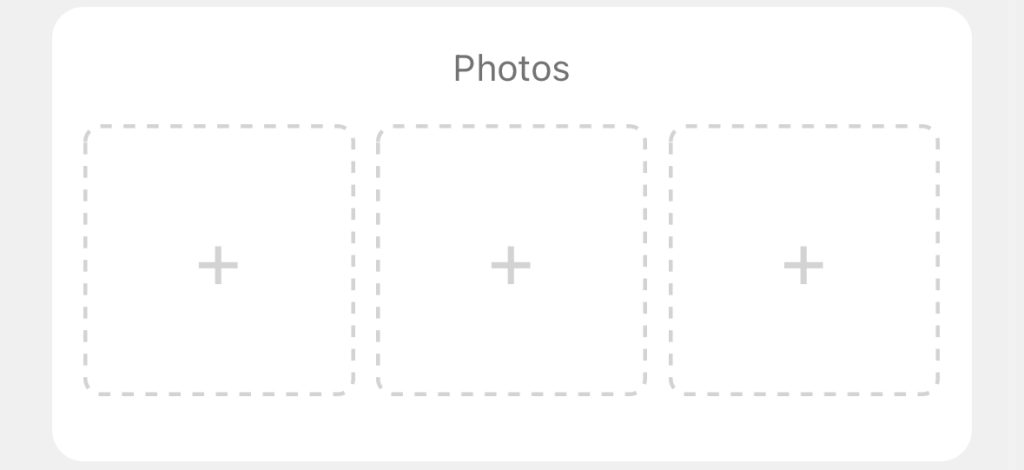
Step 5: Add Photos (Optional)
Add up to 3 photos by clicking on the “+” button.
Select multiple photos from your library using the ‘select’ option (limit is 3)
Remove a photo after adding it by selecting the “x” in the top right corner of the image
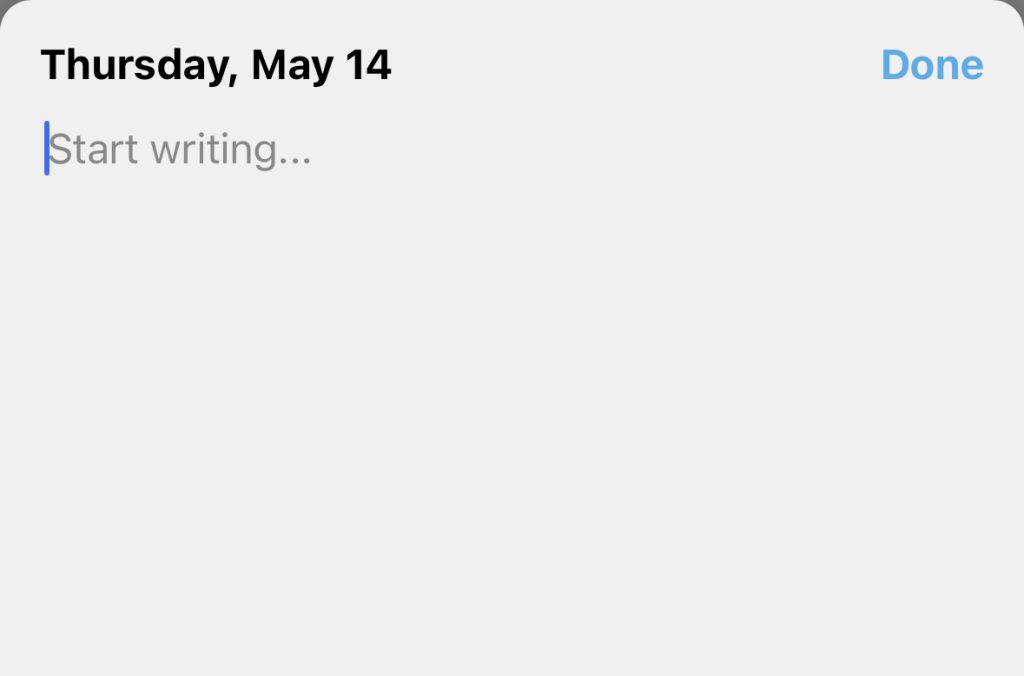
Step 6: Add Notes (Optional)
Select the ‘Add Notes’ button to add notes.
Type your notes in the text box and select “Done” when finished.
Step 7: Log it!
Select the ‘Log it!’ button to save your session.
After logging your session explore the other tabs to check your Surf Stats, Surf Map, and Surf Calendar.